In the dynamic world of retail, product displays play a pivotal role in attracting customers and driving sales. Cardboard product displays have emerged as a popular choice due to their cost - effectiveness, versatility, and eco - friendliness. As a leading Cardboard Product Display supplier, I understand the importance of creating displays that are not only eye - catching but also easy to assemble and disassemble. In this blog, I will share some key tips and strategies on how to make such cardboard product displays.
Understanding the Basics of Cardboard Display Design
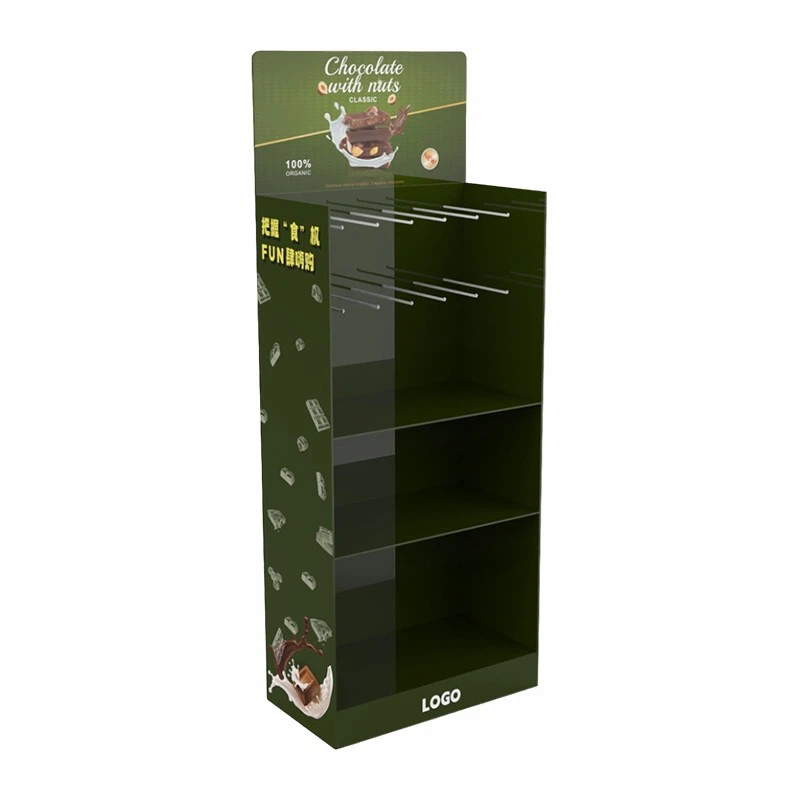
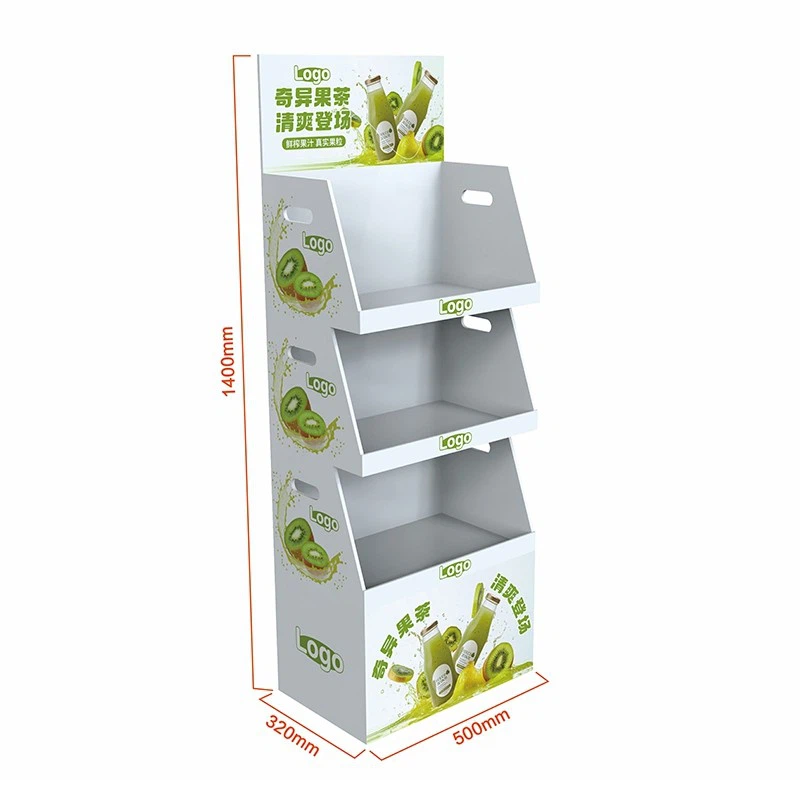
Before delving into the assembly and disassembly process, it is crucial to have a solid understanding of cardboard display design. The design should align with the brand image, product features, and the intended placement in the retail environment. Consider the size, shape, and color scheme of the display. For example, if you are creating a Cardboard Beverage Display, you might want to use colors that are associated with the beverage, such as bright and refreshing hues for a soft drink.
The size of the display should be appropriate for the space where it will be placed. A large display in a small area can look overwhelming, while a small display in a large space may go unnoticed. Also, the shape of the display can be customized to stand out. You could create unique shapes like a bottle - shaped display for a beverage product or a box - shaped display with cut - outs for easy product visibility.
Selecting the Right Cardboard Material
The choice of cardboard material is fundamental to the ease of assembly and disassembly. There are different types of cardboard available, such as corrugated cardboard and solid cardboard. Corrugated cardboard is a popular choice for product displays because it is strong, lightweight, and can be easily cut and folded. It consists of a fluted layer sandwiched between two flat layers, which provides structural support.
When selecting the cardboard, consider the thickness and strength required for the display. Thicker cardboard is more suitable for larger and heavier displays, while thinner cardboard can be used for smaller and lighter ones. Additionally, look for cardboard that is easy to print on, as this will allow you to add branding and product information to the display.
Designing for Assembly and Disassembly
To make a cardboard product display easy to assemble and disassemble, the design should incorporate simple and intuitive features. One effective approach is to use interlocking tabs and slots. These can be designed into the cardboard pieces so that they fit together snugly without the need for additional adhesives or fasteners. For example, you can create tabs on one piece of cardboard that fit into corresponding slots on another piece. This not only makes the assembly process quick but also allows for easy disassembly when the display needs to be taken down.
Another design consideration is the use of pre - scored lines. Pre - scored lines make it easier to fold the cardboard along the desired angles. When designing the display, mark these lines clearly so that anyone assembling the display can easily follow them. You can also use cut - outs and perforations to create access points or to separate different sections of the display.
Step - by - Step Assembly Process
Once the design is finalized and the cardboard material is selected, it's time to assemble the display. Here is a general step - by - step process:
- Prepare the Workspace: Clear a clean and flat surface where you can lay out all the cardboard pieces. This will make it easier to organize and assemble the display.
- Identify the Pieces: Carefully label or mark each cardboard piece according to the design. This will help you quickly identify which pieces go together during the assembly process.
- Start with the Base: Begin by assembling the base of the display. This is usually the largest and most stable part. Use the interlocking tabs and slots to connect the base pieces together. Make sure the base is level and sturdy.
- Build the Sides and Supports: Attach the sides and supports to the base. Again, use the interlocking features to ensure a secure fit. If there are any pre - scored lines, fold the cardboard along these lines to create the desired shape.
- Add the Finishing Touches: Once the main structure is assembled, add any additional elements such as shelves, dividers, or branding elements. These can be attached using glue, tape, or other fasteners.
Disassembly Process
When it comes time to disassemble the display, the process should be just as straightforward as the assembly. First, remove any additional elements such as shelves or dividers. Then, carefully separate the interlocking tabs and slots. Start from the top and work your way down, taking care not to damage the cardboard pieces. Once all the pieces are separated, they can be stacked or stored for future use.
Customization and Branding
One of the advantages of cardboard product displays is the ability to customize them to fit your brand and product. You can print high - quality graphics, logos, and product information on the cardboard. This not only enhances the visual appeal of the display but also helps to promote the brand.
When customizing the display, consider the target audience and the retail environment. For example, if the display is for a children's product, you might want to use bright colors and fun graphics. On the other hand, if it is for a luxury product, a more elegant and sophisticated design would be appropriate.
Cost - Effectiveness and Sustainability
Cardboard product displays are not only easy to assemble and disassemble but also cost - effective. Compared to other materials such as plastic or metal, cardboard is relatively inexpensive. This makes it a great option for businesses on a budget.
In addition, cardboard is a sustainable material. It is made from renewable resources and can be recycled. By using cardboard product displays, businesses can reduce their environmental impact while still achieving their marketing goals.
Conclusion
Creating a cardboard product display that is easy to assemble and disassemble requires careful planning, design, and selection of materials. By following the tips and strategies outlined in this blog, you can create displays that are not only functional but also visually appealing. As a Cardboard Product Display supplier, I am committed to providing high - quality displays that meet the needs of our customers. Whether you need a Cardboard Floor Displays for a large - scale retail event or a Cardboard Display Rack for a small store, we have the expertise and resources to help you.
If you are interested in learning more about our cardboard product displays or would like to discuss a custom project, please feel free to reach out to us. We look forward to working with you to create the perfect display for your products.
References
- "Cardboard Packaging Design: A Comprehensive Guide" by Packaging Digest
- "The Art of Retail Display" by Retail Merchandising Association
- "Sustainable Packaging Solutions" by Environmental Packaging Council